Class Project 04 - How to weave text in and out of a Photoshop image
Questions


Student class projects


Course info
Overview
By the end of this course you'll posess super skills!
- Learn the skills to mask anything… including the dreaded hair.
- Using your amazing new masking skills, you will be able to clearcut images.
- You will learn how to make type interactive.
- Together we will look at popular current visual styles and learn the tools and tricks necessary to recreate them.
- There is a fun section where you will learn how to distort, transform and manipulate images.
- We will create our own graphics using simple techniques from scratch.
- I will teach you to retouch photographs like a professional..
- Finally - any good Photoshop user should know how to put an island inside a bottle!
There are exercise files available to download so that you can follow along with me in the videos. There are lots of assignments I will set so that you can practice the skills you have learned.
Course duration 8 hours 35 mins + your study.
Get the completed files here.
Awarded the Best Photoshop Course by Learnopoly in 2023

Daniel Scott
Founder of Bring Your Own Laptop & Chief Instructor
instructorI discovered the world of design as an art student when I stumbled upon a lab full of green & blue iMac G3’s. My initial curiosity around using the computer to create ‘art’ developed into a full-blown passion, eventually leading me to become a digital designer and founder of Bring Your Own Laptop.
Sharing and teaching are a huge part of who I am. As a certified Adobe instructor, I've had the honor of winning multiple Adobe teaching awards at their annual MAX conference. I see Bring Your Own Laptop as the supportive community I wished for when I was first starting out and intimidated by design. Through teaching, I hope to bring others along for the ride and empower my students to bring their stories, labors of love, and art into the world.
True to my Kiwi roots, I've lived in many places, and currently, I reside in Ireland with my wife and kids.
Downloads & Exercise files
Transcript
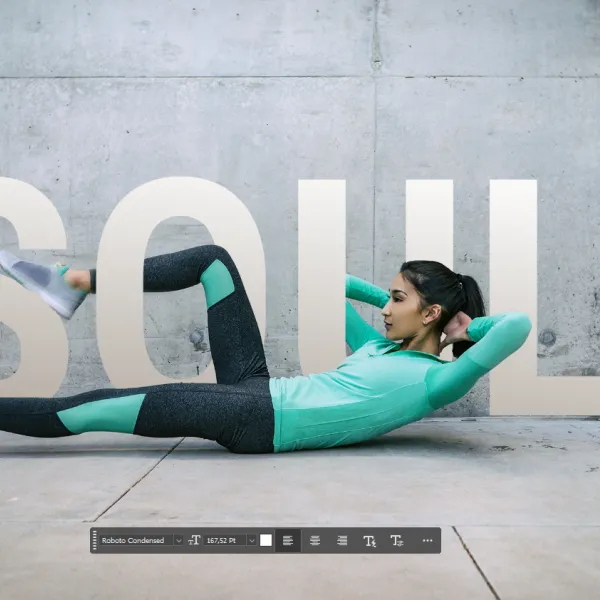
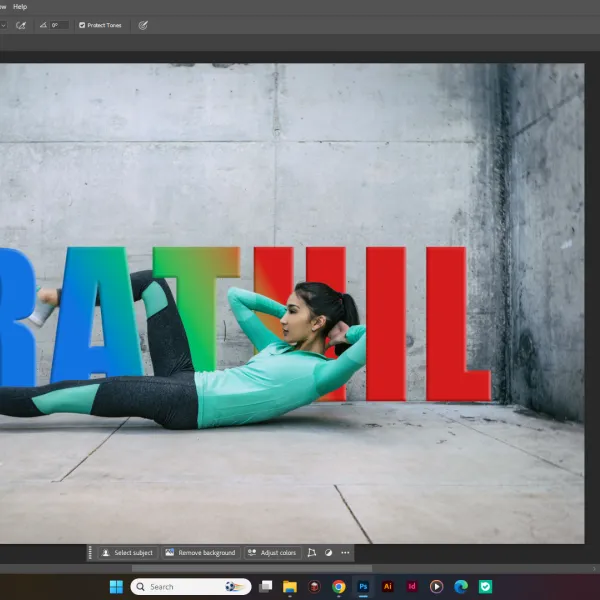
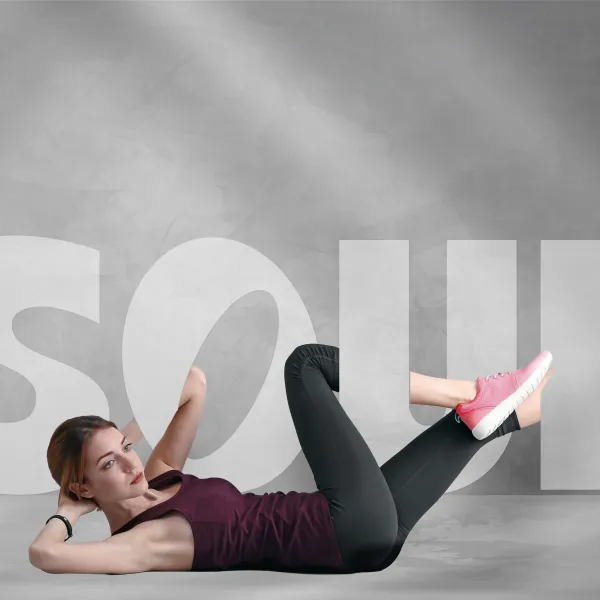
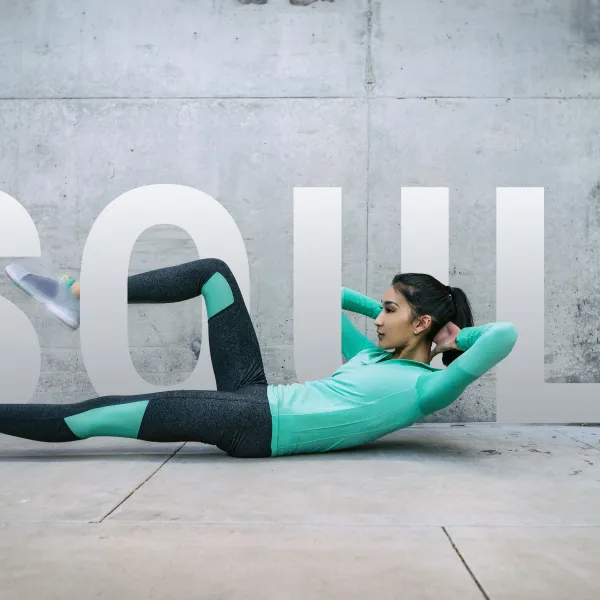
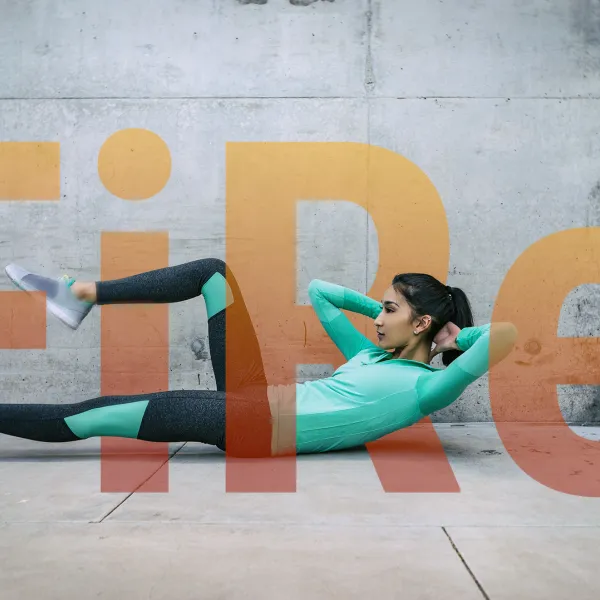
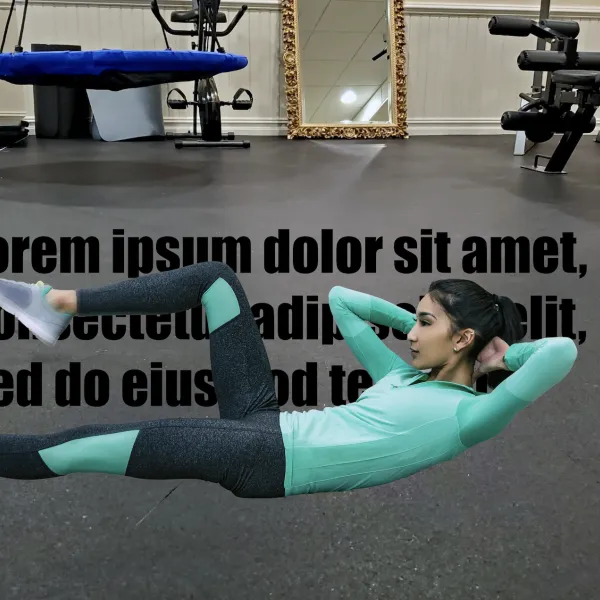
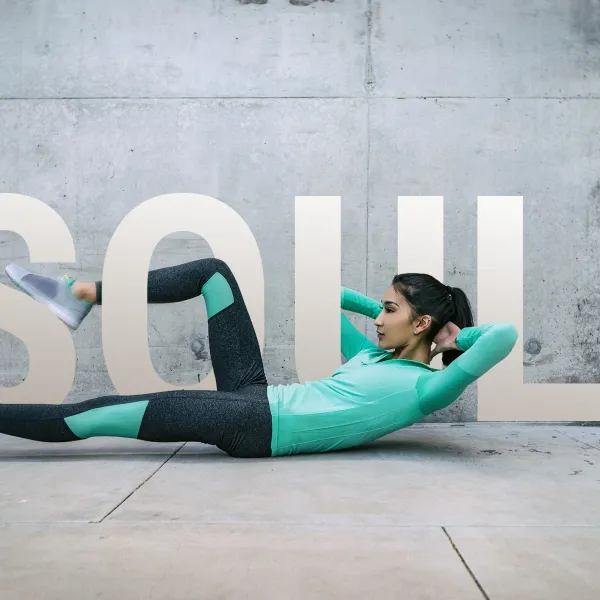
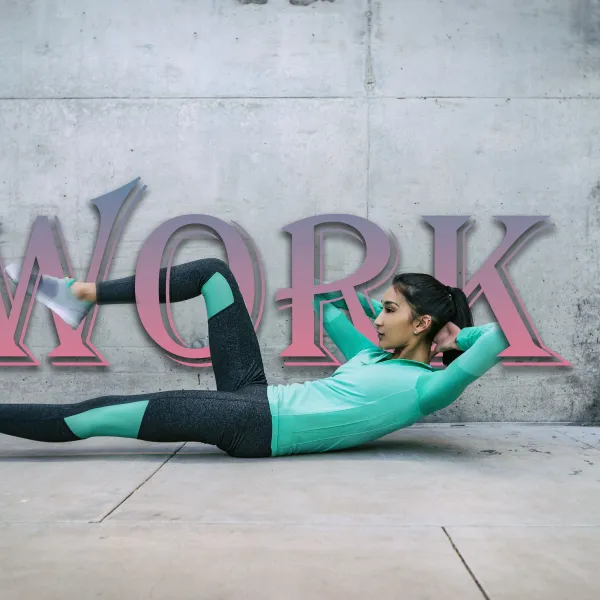
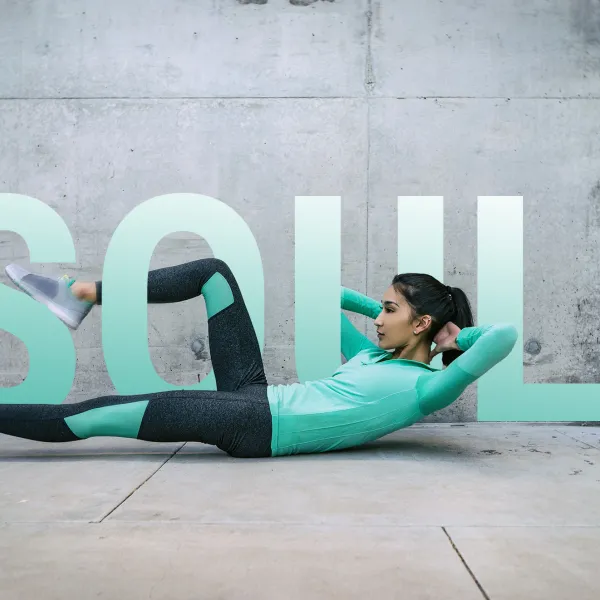
Hi there, in this video we are going to get the model here to interact with a type, kind of weaving in, front, back. It's super popular at the moment, let's look how to do it in Photoshop now.
Now a little note before we get started, this builds on the previous video, if you're jumping straight to this video, I'm going to show you what we've done. Basically what we did was we took the model, we used the Quick Selection Tool, just this one here, to make a selection around the model. Then we copied and pasted on to its own layer, all by itself. You can see here, on its own layer. Then we put some Type in between, top layer and the bottom layer, and that's where we get started in this tutorial.
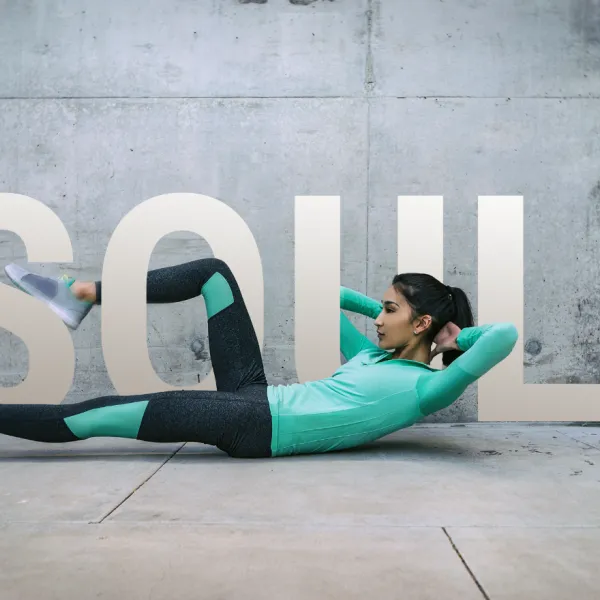
Now we want to do this, and get it to kind of weave in and out. Let's get started. To get started, open up the file that you were working on earlier. Remember, we cut this woman out, and we put text behind her but if you didn't do it, and you're just jumping straight at this video, you can open up the exercise file, it's called 'Layer Mask 03', and you can just start with my version here. Like we did in the last tutorial, where we just painted-- remember we just did the half and half, where it was half a new renovation, half old.
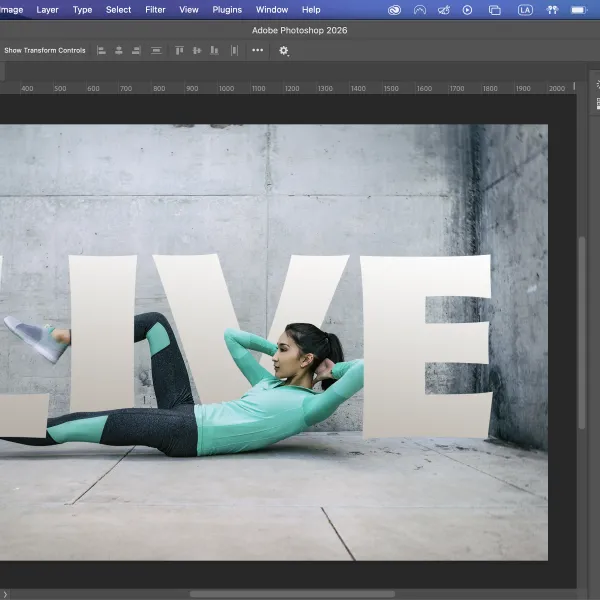
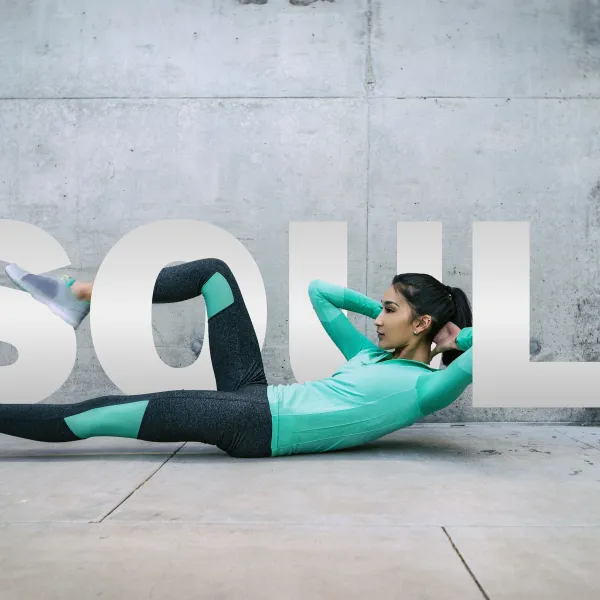
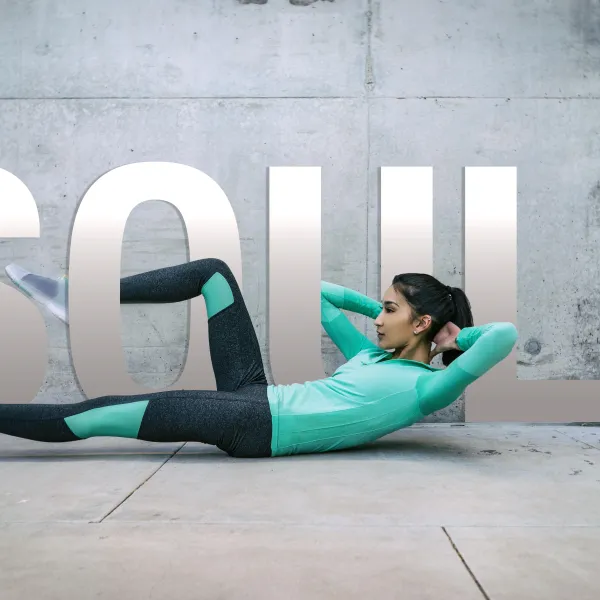
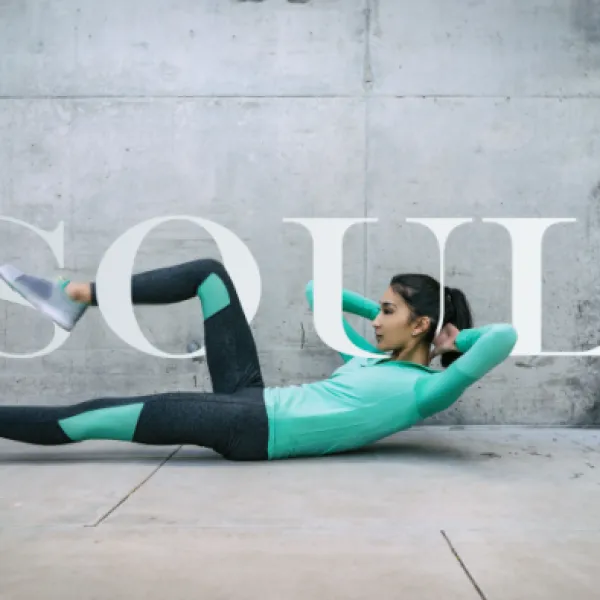
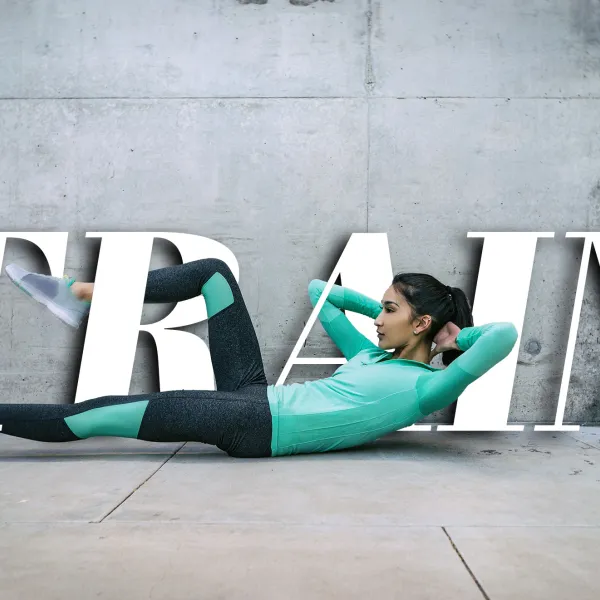
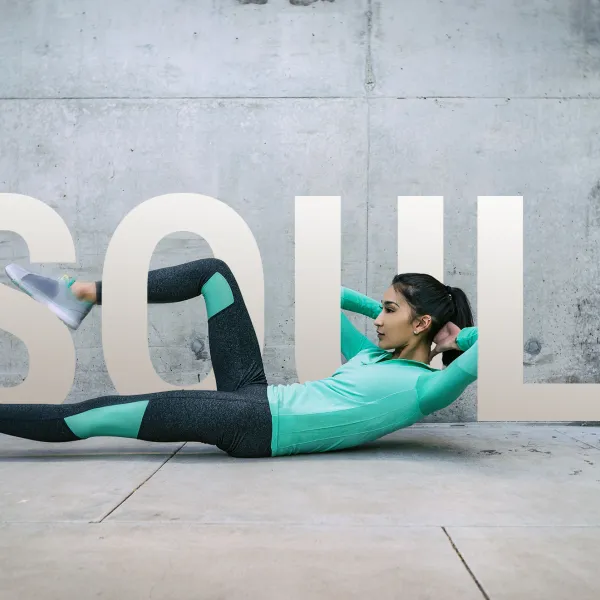
We end with this exact same thing here. So what we're going to do is make sure you've got the 'Model Layer' selected. If you are just jumping back into this we've actually cut this woman out, off the background. She's still there in the background but we've kind of broken her out, so that there's text in between. So the top layer selected, just like we did with the last tutorial, got no selection, was going to hit 'Layer Mask. Remember, our Layer Mask is white, means it's not doing anything at the moment until I paint it with my Paint Brush, using black. If it's not black, hit this little icon. Click this double arrow to switch it around to make sure black is at the front.
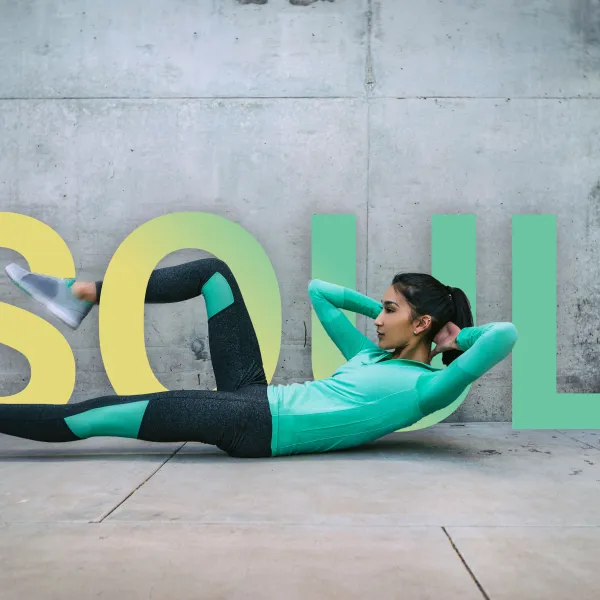
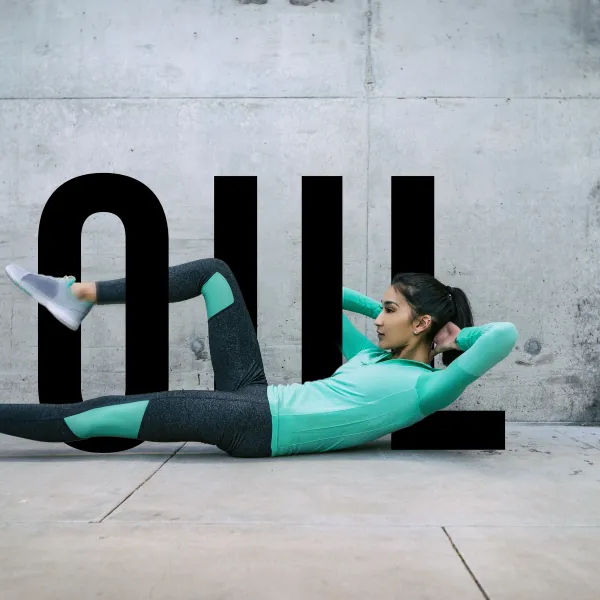
Now in terms of brush sizes, it doesn't really matter in this case. It's pretty forgiving, so any old size, anything around 50 or 60. Hardness, it doesn't really matter, I'm going to have mine up reasonably high. Because what you'll see is, watch this, I'm going to paint across there, across there, and across there. So what I'm doing though, it looks perfect, you're like, "Oh, how did that happen?" It's because, once we turn that bottom layer off, you'll see. And the Text Layer, basically just cut a big hole in the leg. I didn't really care where the edges was, because the text is there, and then the background fills in that last little gap, it's a neat trick.
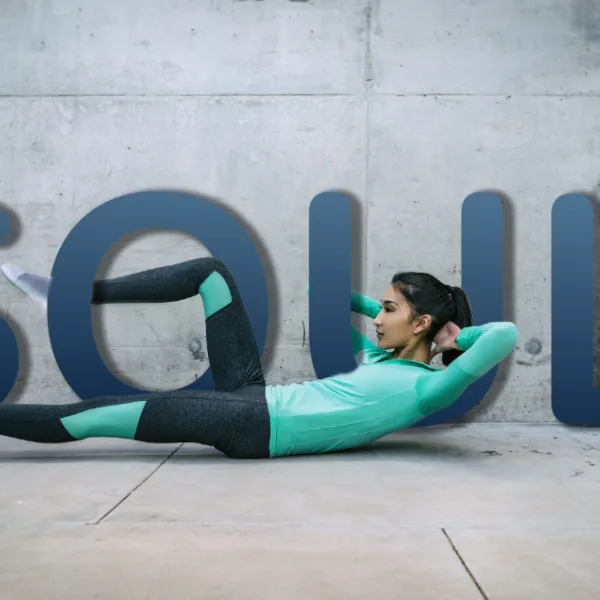
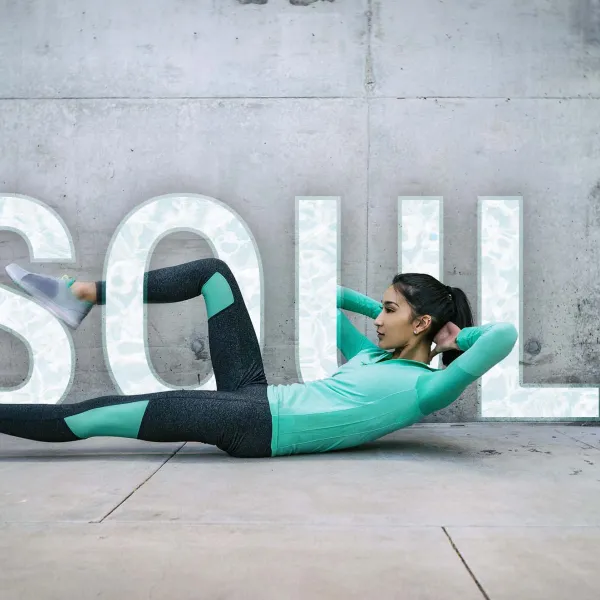
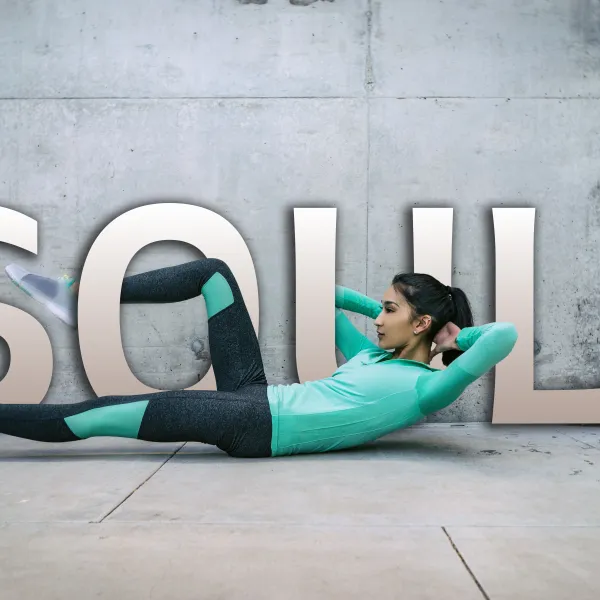
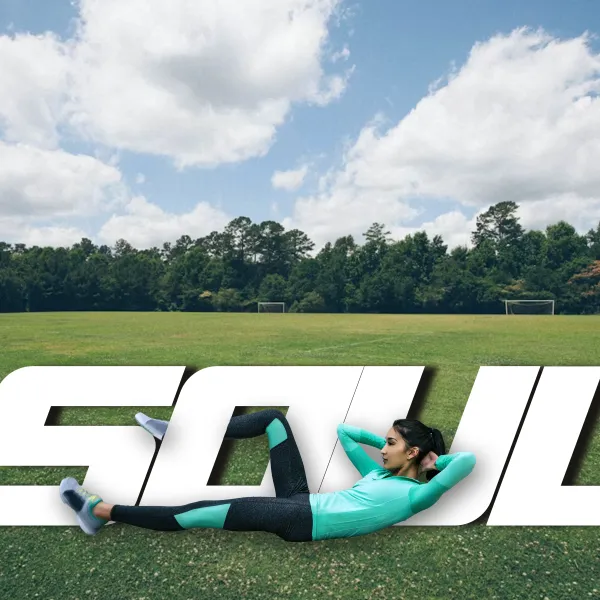
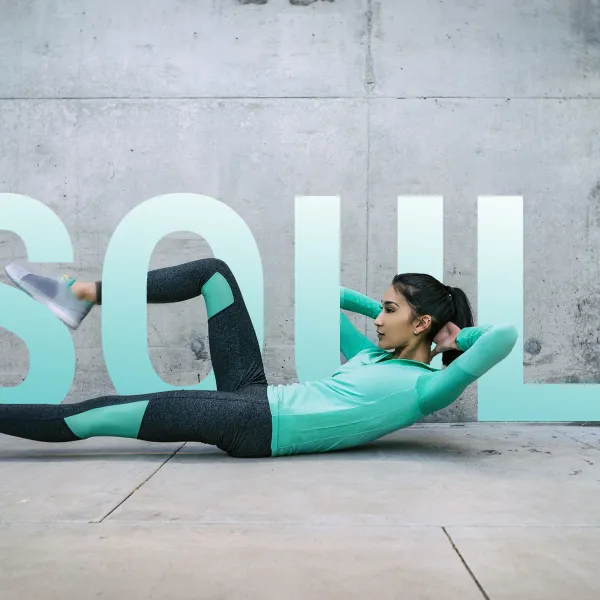
Now you just got to decide what you want in there so make sure you're on the right layer. Make sure you're working on the Mask. So it's got a little line around the outside, got a black paint brush, and just paint out some bits. Those two little things work for me. If you're working on your own bit of text you might have put your own name, or used your own font, yours is going to be different from this so you might have to experiment with what works and what doesn't. I love that we're getting to a stage now in the course where we're starting to kind of, I don't know, double back on some things, and add a little bit of extra. Don't want to say the word possess-- it came into my head, let's not go over that. A little bit of magic, that's called magic.
Like always, I'd love to see what you've done. If you've got different type, I'd like to see how you've kind of got it interacting. So share it here in the comments, or in the project section. Or if you're brave enough, send it up on to Instagram, I’m bringyourownlaptop. Tag me in it, I'd love to see what you've done. Onwards to the next course.
- Powered by Marvin
- Terms of use
- Privacy policy
- Cookie policy
-
- © Bring your Own Laptop Ltd 2026