How To Create An Interactive PDF In Adobe InDesign CC
Questions


Student Gallery
Be the first to share something.
Course info
Overview
- You will need a copy of Adobe InDesign 2018 or above. But you find that 95% of all the features in this course will work with earlier version of InDesign (e.g. CS6). A free trial can be downloaded from Adobe.
What am I going to get from this course?
- 70 lectures 5+ hours of well structured content.
- Create PDF Forms
- Master Long Documents.
- Advanced Fonts
- Master Styles
- Shortcut Sheet
- Create Charts & Infographics
- Create Interactive Documents
- Workflow Tactics
- Shortcuts & Speed Tips
- Advanced Creative Cloud Features
- Tips for working with Photoshop & Illustrator
- Using Scripts
- Exporting, Prepress & Printing tricks
- You will get the finished files so you never fall behind.
- Downloadable exercise files & cheat sheet.
- Forum support from me and the rest of the BYOL crew.
- Techniques used by professional graphic designers.
- Professional workflows and shortcuts.
- A wealth of other resources and websites to help your accelerate your career.
What is the target audience?
- This course is for people who already know InDesign and want to take their skills and speed to the maximum level.
- This is an advanced InDesign course, so you’ll need basic InDesign skills to find this course useful.
- This course is perfect for anyone that already knows how to insert images & add text.
- If you a completely new to InDesign try my InDesign Essentials course before starting this one.
- This course is perfect for anyone that has completed my InDesign Essentials course.
Course duration 7 hours 45 mins + your study.

Daniel Walter Scott
Founder of Bring Your Own Laptop & Chief Instructor
I discovered the world of design as an art student when I stumbled upon a lab full of green & blue iMac G3’s. My initial curiosity around using the computer to create ‘art’ developed into a full-blown passion, eventually leading me to become a digital designer and founder of Bring Your Own Laptop.
Sharing and teaching are a huge part of who I am. As a certified Adobe instructor, I've had the honor of winning multiple Adobe teaching awards at their annual MAX conference. I see Bring Your Own Laptop as the supportive community I wished for when I was first starting out and intimidated by design. Through teaching, I hope to bring others along for the ride and empower my students to bring their stories, labors of love, and art into the world.
True to my Kiwi roots, I've lived in many places, and currently, I reside in Ireland with my wife and kids.
Downloads & Exercise files
How do you make a PDF interactive in Adobe InDesign?
Create hyperlinks on selected text or icons, then export the document using Adobe PDF (Interactive) rather than Adobe PDF (Print). That keeps clickable website and email links active, so the finished PDF can open a browser or start a pre-addressed email.
How to Create an Interactive PDF in Adobe InDesign
An interactive PDF does not need to be complicated to be useful. A couple of well-placed links can turn a standard catalogue, brochure, portfolio, or proposal into something that helps people take action.
For a straightforward starting point, add two links:
A website link that opens a URL in the default browser.
An email link that opens the default email application with the address and subject line already filled in.
You can apply hyperlinks to ordinary text, such as a written email address or web address. Using icons, though, keeps a layout clean. A globe can represent a website and an envelope can represent email. The same approach works for social media icons too, linking directly to LinkedIn, Facebook, X, or wherever makes sense for the document.
Put recurring link icons on the parent page
If the same website and email links need to appear throughout the document, add them to the parent page, formerly called the master page. That way, you build them once and they appear automatically across every page using that parent.
Open the Pages panel.
Double-click the relevant parent page, such as A-Parent.
Choose File > Place and bring in the icon files.
Position and scale the icons, perhaps in the bottom-right corner.
Return to the document pages to confirm that the icons appear everywhere they should.
Keep the icons fairly small, but not so small that they become difficult to select. Scale them proportionally by holding Command + Shift on a Mac or Ctrl + Shift on Windows while dragging a corner handle.
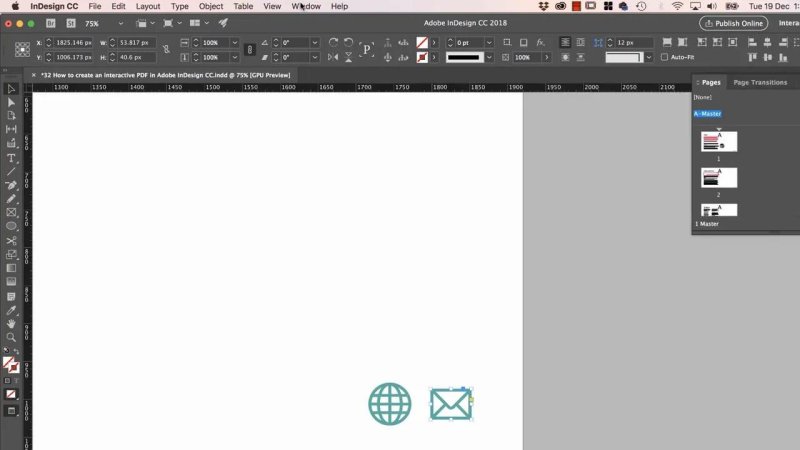
A small globe and envelope create clear, reusable calls to action without cluttering the page.
Create an email hyperlink in InDesign
Select the envelope icon, then go to Type > Hyperlinks & Cross-References > New Hyperlink. It feels slightly odd that the command is under Type when the trigger is an icon, but this is exactly where it lives.
In the New Hyperlink window, set the link type to Email. Enter the email address that should receive the message. You can also add a subject line, such as Catalogue enquiry, to make it easier for someone to get in touch.
When the email icon is selected in the exported PDF, the default mail client opens with the recipient address and chosen subject already added. All that remains is writing the message.
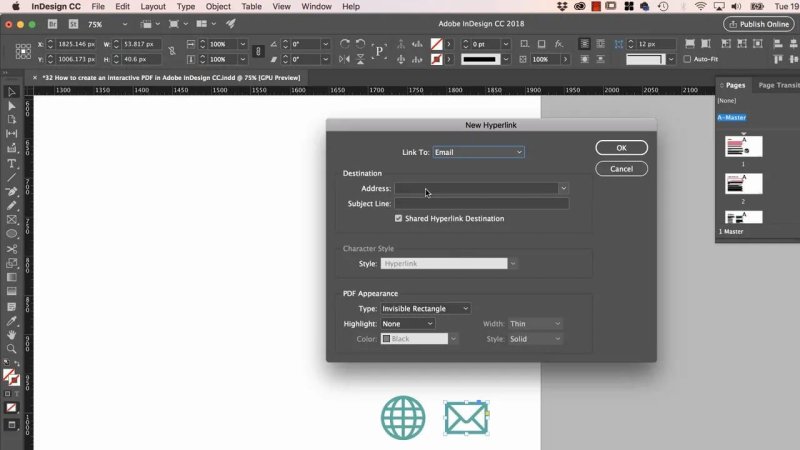
An email hyperlink can pre-fill both the recipient and a useful enquiry subject line.
Create a website URL hyperlink
Now select the globe icon and repeat the process: Type > Hyperlinks & Cross-References > New Hyperlink.
This time, change the link type from Email to URL, then enter the full web address. Use a real URL that you can test easily, whether that is your own site or a simple address such as a search engine.
That is the core interaction done. The visual object remains an icon in the layout, but the exported PDF treats it as a clickable trigger.
Export an interactive PDF, not a print PDF
The important part happens at export. Go to File > Export, just as you would for a normal PDF, but do not leave the format set to Adobe PDF (Print).
Choose Adobe PDF (Interactive) instead. This is the setting that preserves the hyperlinks and prepares the file for on-screen use.
Choose File > Export.
Name the PDF and choose where to save it.
Set the format to Adobe PDF (Interactive).
Select Save.
Review the export settings and choose Export.
For basic hyperlinks, the default interactive PDF settings are generally ready to go. You do not need to go hunting through every option just to make a website or email link work.
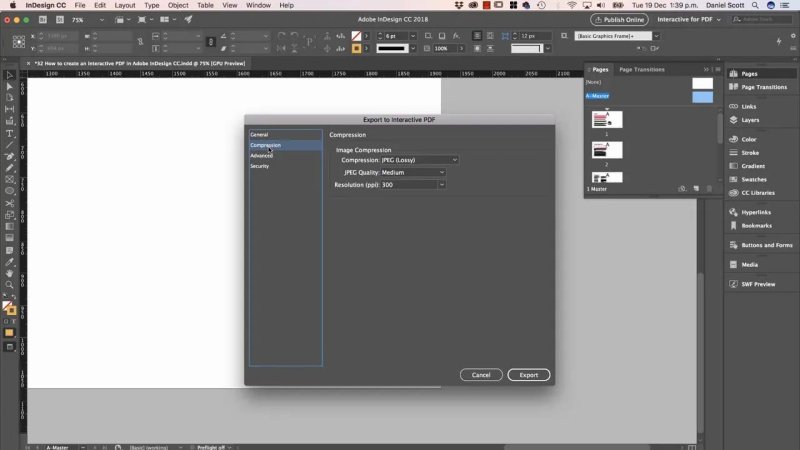
Interactive PDF export settings are mostly ready by default, with compression being the key practical choice.
Balance PDF quality against file size
The setting most worth considering is Compression. A resolution of 300 ppi produces excellent-looking imagery, but it can also produce a hefty PDF. That is fine for some uses, but less fun when the file needs to be emailed.
A sensible approach is to compare quality with file size:
300 ppi gives print-quality imagery and potentially larger files.
144 ppi is a useful middle ground for many interactive PDFs.
72 ppi can reduce file size further when email delivery matters most.
Keep the resolution as high as you reasonably can, then test the resulting file size. If a 300 ppi export becomes a 10 MB PDF, for example, it may be awkward to email. Drop the resolution to 144 ppi and check again. If it is still too large, try 72 ppi.
There is no magic setting that fits every document. Export a version or two, look at the image quality, check the file size, and choose the best compromise for the way the PDF will be shared.
Deal with the overset text warning
During export, InDesign may warn you about overset text. This means a text frame contains more text than is currently visible inside it.
For a quick demo document, you might knowingly export anyway. For a proper client document, though, treat the warning seriously. Hidden text is still hidden, and a polished PDF should not leave important copy stranded outside its text boxes.
Before sharing the file, inspect the text frames, resize them if needed, or edit the copy until all essential text is visible.
Test the links in Acrobat or Acrobat Reader
Open the exported file in Acrobat Pro or Acrobat Reader. If it does not open automatically after export, find the PDF in Finder on Mac or File Explorer on Windows and open it from there.
Check both interactive elements:
Select the website icon. A security warning may appear saying that the PDF is trying to open a website. Approve it, then confirm the correct page opens in the browser.
Select the email icon. Confirm that your mail application opens with the recipient and subject line in place.
Those security warnings are normal. PDFs can launch external actions, so the application asks for confirmation before opening a browser or mail client.
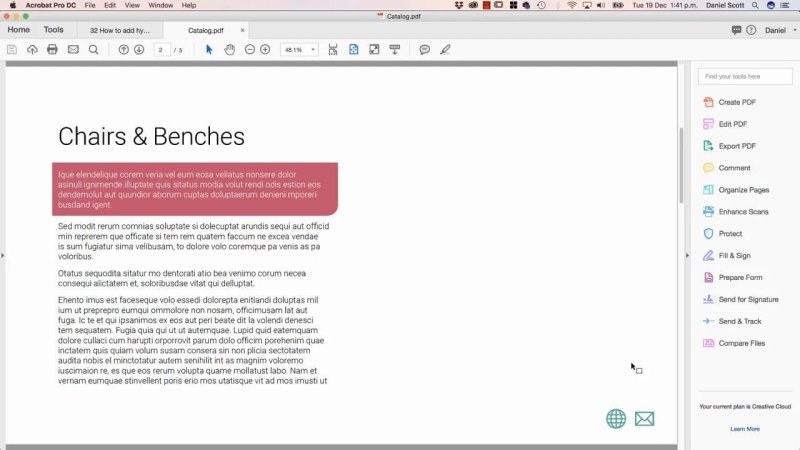
Open the exported PDF in Acrobat and test every link before sending it out.
Create a stronger opening page for the document
Once the links are working, it is worth giving the document a more intentional start. A simple cover page can make a catalogue feel much more finished before you begin adding further interactive features such as page transitions.
Start by adding a new page before page one. The quick method is to click the new-page icon in the Pages panel, then drag the new page into the first position.
Build the cover with a full-page image and tint
Place a large image across the page using File > Place. Drag from one side of the page to the other so the image fills the cover area.
To make type readable over the image, draw a rectangle over the full page. Set its stroke to none, give it a black fill, then reduce the opacity. That simple translucent overlay darkens the photograph enough for text to sit above it cleanly.
Place a logo over the image as a separate graphic. Then add the cover title using the Type tool.
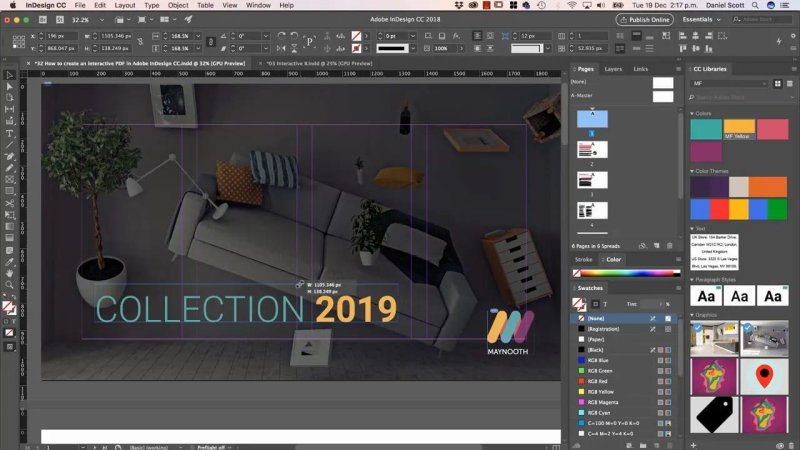
A dark overlay gives the cover title enough contrast while preserving the image underneath.
Adjust display type by scaling the text frame
When working out a large display heading, it can be faster to scale the text frame visually rather than repeatedly guessing font sizes. Create the text frame away from the image first, then move it into position. That avoids accidentally converting the background rectangle into a text frame.
With the selection tool, fit the text frame to its content using:
Command + Option + C on Mac
Ctrl + Alt + C on Windows
Then scale the frame proportionally while holding Command + Shift on Mac or Ctrl + Shift on Windows. It is a quick, visual way to find a headline size that feels right, rather than obsessing over the exact point value from the outset.
Use preview mode with the W key to hide guides and see the page more honestly. Tidy the alignment, check the hierarchy, and the cover is ready to support the rest of the interactive PDF.
FAQ's
Will hyperlinks work if I export Adobe PDF Print from InDesign?
Use Adobe PDF Interactive for this workflow. Choosing Adobe PDF Print by default is the easy mistake to make, but Adobe PDF Interactive is the export format intended to preserve this basic interactivity.
Can I use text instead of icons for an InDesign hyperlink?
Yes. Select a piece of text, such as an email address or website address, and create the hyperlink through Type, Hyperlinks & Cross-References, New Hyperlink. Icons are simply a cleaner visual alternative.
Why does my interactive PDF show a security warning before opening a link?
The PDF application may ask for permission before launching a browser or default email client. This is normal security behaviour for a PDF that triggers an external website or email action.
What resolution should I use for an interactive PDF?
Start as high as practical, then compare visual quality against file size. A 300 ppi export looks great but can be large, while 144 ppi or 72 ppi may be better for PDFs that need to be emailed.
Written by Daniel Walter Scott — Founder of Bring Your Own Laptop & Chief Instructor
