How to Unlink vs Embedded Images in Illustrator?
Questions

Student Gallery
Be the first to share something.
Course info
Overview
- - How to use artificial intelligence to boost your creativity in ideation.
- - The quick way to take hand-drawn sketches and vectorize and color them.
- - The building blocks needed to set you loose on a huge variety of beautiful effects and techniques.
- - To make beautiful charts and graphs for your documents.
- - Color mastery to make quick color adjustments, Pantones, and blend it all together beautifully.
- - How to master images inside of your illustrator workflow.
- - To harness all the secret gems that'll help you level up your typography skills.
- - All the tricks of the trade for drawing complex shapes easily.
- - To double your creativity with the Transform and Distort section.
- - To speed up your personal workflow to get the most out of your creative day.
- The Curvature Tool
- How to master corners with corner widget effects
- How to work with Compound Paths
- The difference between Expand & Expand Appearance
- How to create Graphic Styles
- How to make Symbols
- How to use the Smooth Tool
- Advanced use of Simplify Path
- What Live Shape Effects are for
- How to make Repeating Grids & Concentric Circles
- How to make Random Objects
- Advanced Keyboard Shortcuts in Illustrator
- How to add a Gradient on a Stroke
- How to add a Gradient in Text
- How to use the Freeform Gradient tool
- How to use Advanced Color Swatches
- How to use Global Color Swatches
- What is the difference between RGB vs CMYK color modes?
- How to proof colors
- How to use Pantone Spot Colors
- Recolor Artwork & Changing all colors at once
- How to use Blending Modes
- How to work with Images & Blending Modes
- How to make Black & White Images
- Learn Advanced Workflow Tricks
- All the Super Selection Mastery
- How to use the History Panel
- Advanced Fonts Tricks & Tips
- Use Retype to know what Font is being used
- How to put Text Inside a Letter or Shape
- How to use the Touch Type Tool
- How to add a Connected Stroke Around Multiple Shapes
- How to Offset a Stroke with Text
- How to make a Bar Chart in Illustrator
- How to make a Pie Chart in Illustrator
- Layer Power Moves
- Advanced Artboard & Pages Tricks
- How to Unlink vs Embedded Images
- How to Crop Images Rather than Mask
- How to Mask Inside Text & Multiple Shapes
- How to you use the Puppet Warp Tool
- How to use the Distort Envelope Shape & Type
- How to use the Envelope Mesh
- How to blend lines together
- How to make a Linocut Effect
- How to make 3D Gradient Lettering Blends
- How to spin text into a ring
- How to turn text into a 3D donut shape
- How to make a Duotone image effect
- How to make a Roughen Stamp Vector Effect
- How to make a Neon Sign Glow Effect
- How to use a Halftone Effect using Plugins
- Advanced Exporting Assets Tricks in Illustrator
- How to use the Dimension Tool
So what're you waiting for? Let's start the course now!

Daniel Scott
Founder of Bring Your Own Laptop & Chief Instructor
instructorI discovered the world of design as an art student when I stumbled upon a lab full of green & blue iMac G3’s. My initial curiosity around using the computer to create ‘art’ developed into a full-blown passion, eventually leading me to become a digital designer and founder of Bring Your Own Laptop.
Sharing and teaching are a huge part of who I am. As a certified Adobe instructor, I've had the honor of winning multiple Adobe teaching awards at their annual MAX conference. I see Bring Your Own Laptop as the supportive community I wished for when I was first starting out and intimidated by design. Through teaching, I hope to bring others along for the ride and empower my students to bring their stories, labors of love, and art into the world.
True to my Kiwi roots, I've lived in many places, and currently, I reside in Ireland with my wife and kids.
Certificates
We’re awarding certificates for this course!
Check out the How to earn your certificate video for instructions on how to earn yours and click the available certificate levels below for more information.
Downloads & Exercise files
Should you link or embed images in Illustrator?
Use linked images when you want smaller Illustrator files and smoother performance. Use embedded images when you want everything packed into one document and do not want to worry about missing files later.
Linked vs Embedded Images in Illustrator
Images in Illustrator can behave in two very different ways, and if you do not know which kind you are working with, things can get messy fast.
Sometimes an image sits neatly inside the Illustrator document. Other times it only points to a file somewhere on your computer. Both approaches are useful. Both can also cause headaches if you pick the wrong one for the job.
What linked images actually are
A linked image is not fully stored inside the Illustrator file. The document simply keeps a reference to where that image lives on your hard drive or network location.
That means the image may appear in your layout, but the original file still matters. If it gets moved, renamed, deleted, or forgotten when sending the project to someone else, Illustrator loses track of it.
When that happens, you usually get a missing link warning when opening the file. Illustrator may still show a rough preview, which can be a bit misleading. It looks like the image is there, but it is only a low resolution stand-in and is not something you want to rely on for final output.

The Links panel is where Illustrator tells you whether an image is healthy, missing, or ready to be embedded.
How to fix a broken image link in Illustrator
If an image link is broken, the first place to head is the Links panel. Open it from Window > Links.
Inside that panel, broken items are easy to spot. Illustrator marks them clearly, often with a warning colour or icon. Once the missing image is selected, you can relink it to the correct file.
Open Window > Links.
Select the missing image in the panel.
Choose the standard Relink option, not the CC Libraries version.
Browse to the correct image on your computer.
Select the replacement file and confirm.
This does not have to be the exact original filename. If the image was renamed, you can still point Illustrator to the updated version. In the demo, the image name had intentionally been changed just to force the error, and relinking solved it straight away.
That is also why missing links are so common when files are shared. It is very easy to send an Illustrator document and forget the image folder that goes with it. Once the image files are sent over separately, they still need to be relinked on the other machine.
If you genuinely do not have the source image anymore, there is no magic recovery button. Illustrator cannot rebuild a full image from a broken reference alone. You need the actual file.
Relinking is simply a matter of pointing Illustrator to the correct file again, even if the name has changed.
Why Illustrator uses linked images by default
There is a practical reason linked images are so common. They keep the Illustrator file lighter.
When large photos are embedded directly into a document, file sizes climb quickly. Bigger files can slow things down, especially in more complex projects. Keeping images linked means Illustrator only references those files instead of stuffing every pixel into the document itself.
The trade-off is convenience versus performance:
Linked images keep the file smaller and often feel faster to work with.
Embedded images make the file more self-contained but can increase file size.
For some jobs, especially when handing a file off or archiving it, embedding can be worth the extra weight just to avoid link issues altogether.
How to embed an image in Illustrator
If you decide an image should travel with the document, you can embed it from the Links panel.
Select the linked image, then choose the embed option. Once embedded, the image becomes part of the Illustrator file itself rather than a reference to something stored elsewhere.
That means if you send the Illustrator file on its own, the image goes with it. No hunting around for missing assets later.
One slightly odd detail is that Illustrator may still show where the image originally came from, even after embedding. That can look confusing at first, but the key point is the image is now part of the document.
Placing multiple images at once
Illustrator has a very handy trick when you need to bring in several images together.
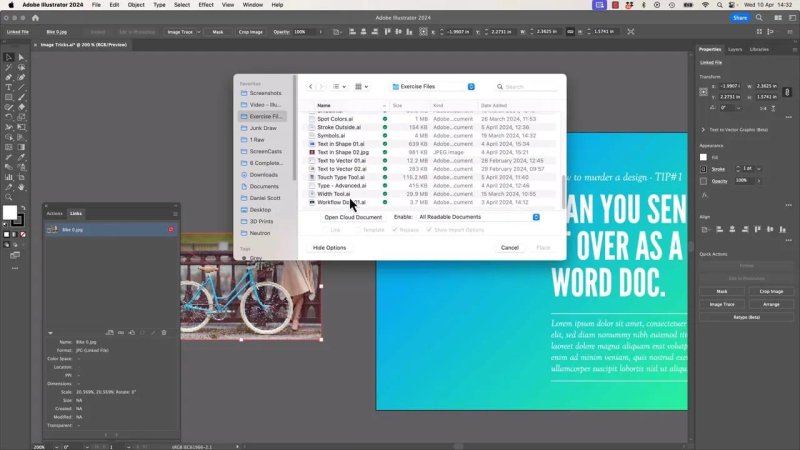
Go to File > Place. The shortcut is Command + Shift + P on Mac or Control + Shift + P on Windows. From there, select multiple image files in one go.
Before placing them, make sure the place dialogue is showing all available options. If the settings area is hidden, expand it using the option that reveals more controls.
One of the important settings here is the Link checkbox:
If Link is on, the images come in as linked files.
If Link is off, the images are embedded as they are placed.
There is also a bonus tip here that saves time. When you load several images at once, Illustrator stacks them in a placement queue. Before clicking to place each one, you can use the left and right arrow keys to cycle through the loaded images and change the order you drop them onto the artboard.
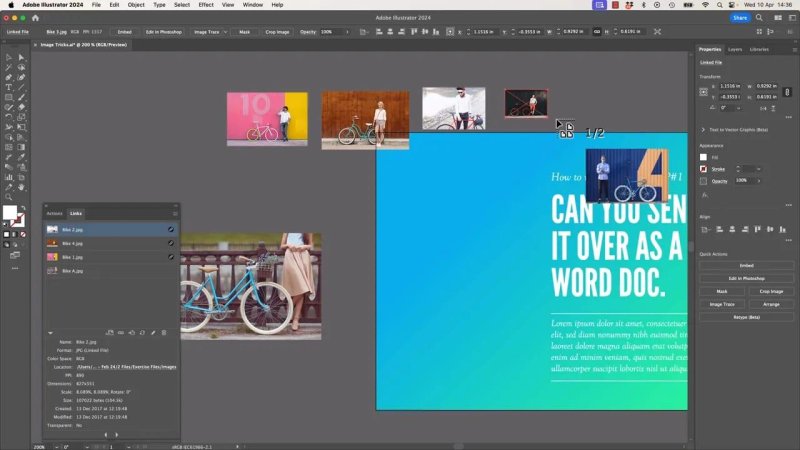
Bringing in a batch of images is quicker than placing them one by one, and you can still control the order as you go.
Embedding several linked images at the same time
If you have already placed a bunch of linked images and then change your mind, you do not need to embed them one at a time.
In the Links panel:
Select the first image.
Hold Shift.
Select the last image in the range.
Use the embed command to convert the whole batch.
That is much faster when a project starts as linked but later needs to be packaged into a single document.
How to find where a linked file lives
Sometimes the main issue is not that a file is broken. It is simply that you have no idea where it is saved.
The Links panel helps with that too. Select the image, then use the command that reveals the file in your operating system.
On Mac, use Show in Finder.
On Windows, use Show in Explorer.
This is useful when linked assets are buried deep inside a synced folder, a downloads directory, or some random project archive that seemed like a good idea at the time.
When you need to know where Illustrator is pulling images from, revealing the files in Finder or Explorer clears it up fast.
The quickest way to embed while dragging images in
There is one more shortcut that is easy to miss.
A lot of people drag images directly from Finder or Explorer into Illustrator instead of using File Place. That works perfectly well, but by default those dragged-in images come in as linked files.
If you want them embedded instead, hold Shift while dragging the image into Illustrator. That small modifier changes the import behaviour and brings the image in as an embedded file.
It is one of those tiny workflow tricks that feels surprisingly useful once it becomes habit.
Linked vs embedded images: which should you use?
There is no single correct answer. It depends on what matters most for the job in front of you.
Choose linked images when:
You want smaller Illustrator files.
You are working with lots of large photos.
You want Illustrator to stay a bit more responsive.
You are managing assets carefully in folders already.
Choose embedded images when:
You want one self-contained Illustrator document.
You are sending the file to someone else.
You do not want to risk missing links later.
Convenience matters more than file size.
If you are the sort of person who gets tired of chasing missing files, embedding can save a lot of annoyance. If you are building larger documents and want better performance, linked images are usually the smarter choice.
FAQ
What is the difference between linked and embedded images in Illustrator?
Linked images stay as separate files on your computer, and Illustrator only references them. Embedded images are stored inside the Illustrator document itself.
Why does Illustrator show a missing image even though I can still see it?
Illustrator may display a low resolution preview of the missing image. That preview is only a placeholder and is not a reliable substitute for the original file.
How do I relink a missing image in Illustrator?
Open the Links panel from Window, select the broken link, choose Relink, and then browse to the correct image file on your computer.
Can I embed several images at once?
Yes. Select multiple items in the Links panel by clicking the first, holding Shift, and clicking the last, then use the embed command on the whole selection.
How do I place images as embedded from the start?
When using File Place, turn off the Link option before placing the file. If you are dragging images in from Finder or Explorer, hold Shift while dragging to embed them.
- Powered by Marvin
- Terms of use
- Privacy policy
- Cookie policy
-
- © Bring your Own Laptop Ltd 2026